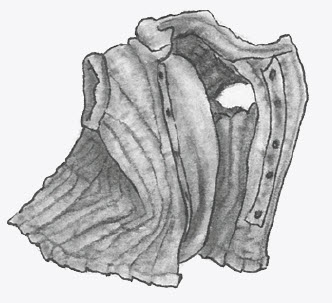
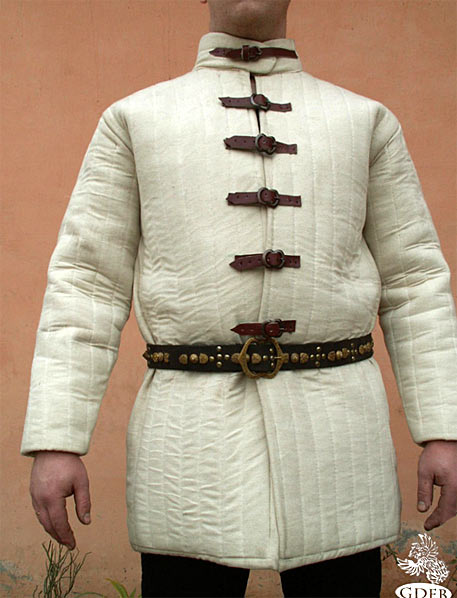
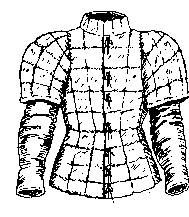
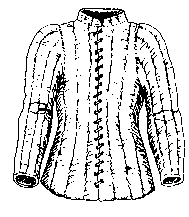
Cloth armor
A type of Armor
This fabric armor offers minimal protection from penetration and impact.
Contents
Armor Points
Base Armor Points: 1 Maximum Armor Points: 2
Requirements
Must be a minimum of 1/16” thick when fully compressed. Must not be easily mistaken as regular garb.
Armor Specific Modifiers
None
See also: General Modifiers
How to make an Arming Coat
Many players have armour but how many of them bother with an arming jacket? Not many. There are several good reasons to wear an arming jacket under armour even for Amtgard. The most important is comfort, how often do you return form an adventure and are just so glad to be rid of your armour? Pretty often I bet. If you do find yourself in this category then an arming coat could solve a lot of your woes.
An arming coat will also act as a warm jacket even when you are not wearing armour which can be great in winter. The other reason for wearing an arming coat in the middle ages was for the protection the padding offered.
Materials:-
- 4 Yards of Material.
- 4 Yards of Lining Material.
- Polyester or wool Wadding.
- Cotton.
Tools:-
- Chalk for marking out.
- Sharp scissors.
- Pins.
- Sewing machine. (Or a needle if you don't have access to one).
Mark out and cut the pieces of the pattern as shown.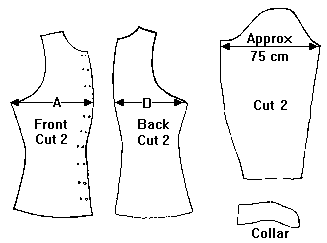
Take measurements directly from your own body except for across the back and chest. In order to give enough room for movement use the following measurements (in cm).
A=(Chest + 40)/2
B=A + 4 Add 15 mm seam allowances onto all pieces. If you want to play around with the pattern to make sure it fits properly or don't have faith in your ability to produce a usable pattern try making a pattern using some old material. Curtains from jumble or car boot sales are good for this. Tack the pieces together and try it on (remembering that it must be loose enough that you can still move when it is stuffed). It is a good idea to leave the armpit unstitched for ventilation. The medieval shape was very close fitting around the waist and then flared at the bottom in a very feminine shape. Note also the large scope of the armhole with a very narrow shoulder on the body section to facilitate movement. Play around with the design until you are happy.
Once you have the pieces for your pattern from the main material and the lining stitch the corresponding pieces together (front left lining to front left outer etc.) leaving the lower edge open (do not make up the coat yet!).
Turn the sewn pieces the right way out. Now sew the channels in. The narrower these are the harder it will be to stuff the coat, 5 cm is a good compromise. Now stuff the jacket using long thin strips of wadding.
Alternatively you can cheat. Stuff the pieces and then sew the channels in. This is a lot quicker but it does tend to compress the padding which gives flatter coat and makes the air circulation poorer so the coat is hotter.
Now make up the coat stitching the front pieces at the shoulder first then stitching the side seams. Fitting the arms is easier if the armpit is left open. Finally hem up the bottom edge and add the fastening which should be either a lace or buttons.
