Difference between revisions of "Flail Construction"
(Putting in a flail tutorial... needs images.) |
|||
| (3 intermediate revisions by the same user not shown) | |||
| Line 1: | Line 1: | ||
| + | =Bag Head Flail The Easy Way by Arrakis= | ||
| + | This isn't world-shaking technology, but it makes good flails quickly and with reasonable effort. You can bang out a bunch for your park with ease or make a really nice one for yourself or your buddy. | ||
| − | |||
| − | |||
== Materials Needed == | == Materials Needed == | ||
*Core | *Core | ||
| Line 9: | Line 9: | ||
*Frost King 1" wall pipe insulation, blue camp mat, or other medium-firm closed-cell foams | *Frost King 1" wall pipe insulation, blue camp mat, or other medium-firm closed-cell foams | ||
*cloth for a cover | *cloth for a cover | ||
| + | *elastic hair ties (with no metal) | ||
== Instructions == | == Instructions == | ||
| − | < | + | <gallery> |
| + | Flail01.jpg|1. Make a haft like you're building an omni. Make sure your core is 11" or longer and short enough to not run past the max length. | ||
| + | |||
| + | Flail02.jpg|2. Gotta cap it and tape it up, as usual. Feel free to use only 7/8" or so of cap foam; you aren't gonna be stabbing people with the haft (I hope). | ||
| + | |||
| + | Flail03.jpg|3. Cut another chunk of Frost King for the head. I like about this length, but it's up to you. Seal the seam with the built-in adhesive. Throw a strip of tape on it to make sure it holds tight for the next step. | ||
| + | |||
| + | Flail04.jpg|4. Roll up a bit of scrap fabric nice and tight... | ||
| + | |||
| + | Flail05.jpg|5. and stuff the head with that for a bit of weight. | ||
| + | |||
| + | Flail06.jpg|See? Not too shabby. | ||
| − | + | Flail07.jpg|6. Now, cap that to keep the fabric from escaping and then tape 'er up. | |
| − | + | Flail08.jpg|7. Make a cover for an omni the diameter of your finished haft/head. Since I'm using the same foam and an appropriate haft core, that makes life easy. | |
| − | + | Flail09.jpg|If you don't know how to sew a nice Omni cover, see this tutorial: [[Omni Covers The Easy Way]]. Make it plenty long; if you haven't done one of these before, maybe twice the length of your haft, just to be sure you have enough fabric. | |
| − | + | Flail10.jpg|8. Put the head in the cover and snug it down realllllly tight with a hair elastic. These are cheap and long-lasting. | |
| − | + | Flail11.jpg|9. Grab some 1/2" wall pipe insulation or other foam and roll up some "marshmallows" for your chain. | |
| − | + | Flail12.jpg|Tape 'em so they hold their shape. | |
| − | 10. | + | Flail13.jpg|10. Stuff a marshmallow into the cover, center it, and then snug it down with a hair elastic, nice and tight. |
| − | + | Flail14.jpg|Make them whatever length you like, really. This sort of "broad as it is long" approach works well. | |
| − | + | Flail15.jpg|11. Do that step however many times you like, to get the chain length you want, then slide the haft into the bottom of the cover, trim the cover, and tape it down to the haft. Finish the pommel and handle as you like. Congratulations! You now have a flail! | |
| − | + | </gallery> | |
Latest revision as of 22:09, 7 February 2024
Bag Head Flail The Easy Way by Arrakis
This isn't world-shaking technology, but it makes good flails quickly and with reasonable effort. You can bang out a bunch for your park with ease or make a really nice one for yourself or your buddy.
Materials Needed
- Core
- Black Cloth Tape
- Strapping and/or packing Tape
- DAP Contact Cement or Spray glue or Double-sided carpet tape
- Frost King 1" wall pipe insulation, blue camp mat, or other medium-firm closed-cell foams
- cloth for a cover
- elastic hair ties (with no metal)
Instructions

1. Make a haft like you're building an omni. Make sure your core is 11" or longer and short enough to not run past the max length.
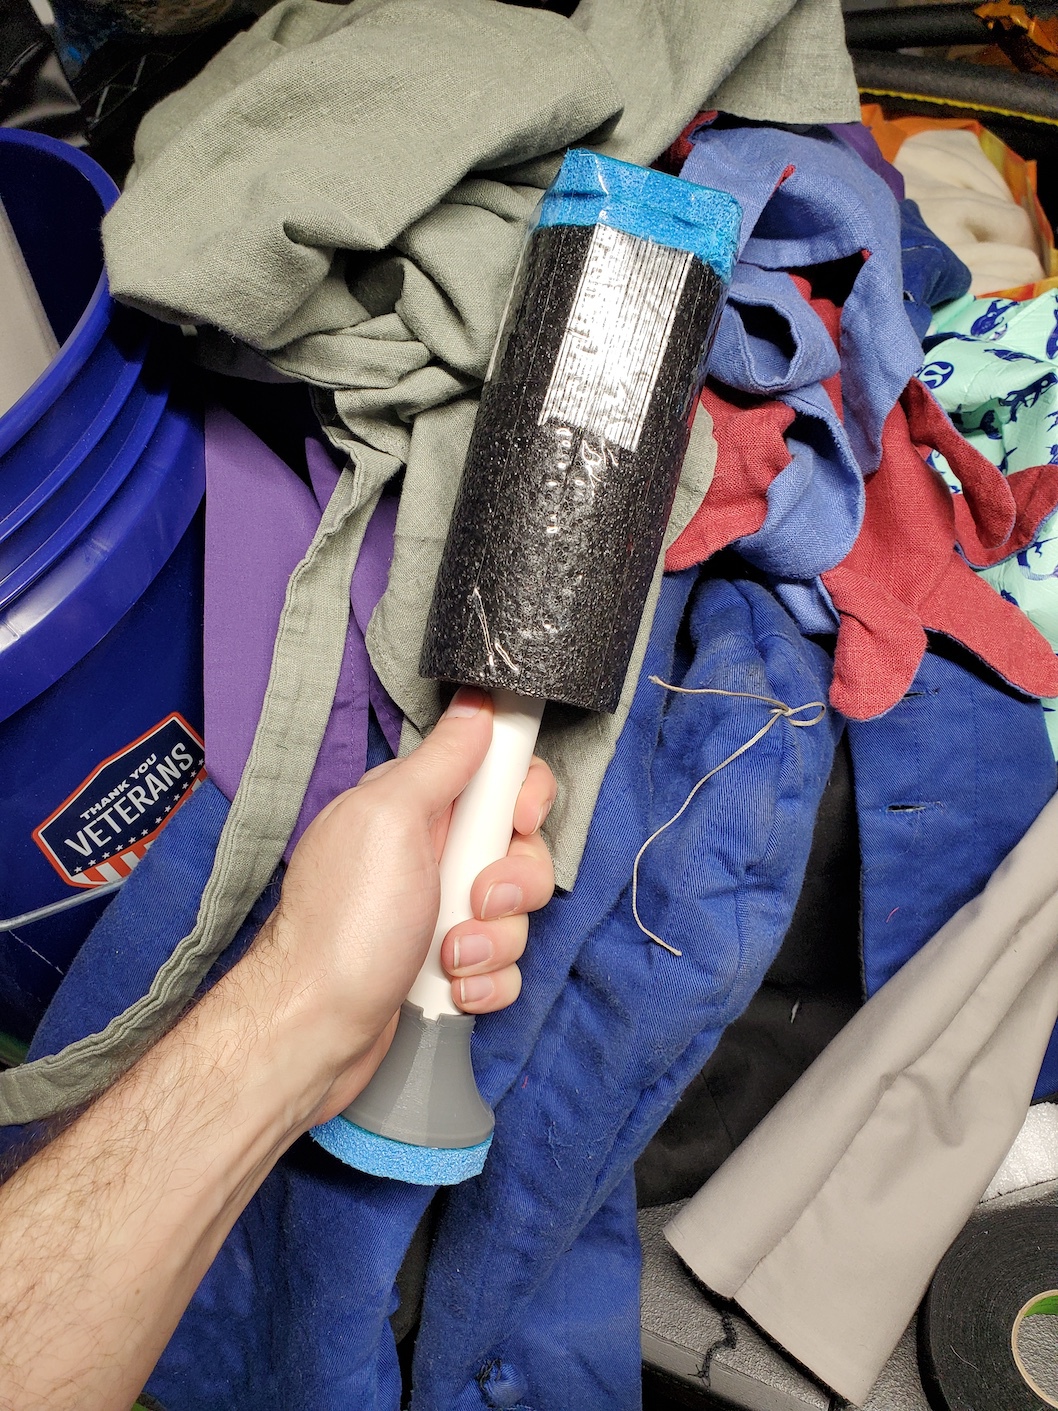
2. Gotta cap it and tape it up, as usual. Feel free to use only 7/8" or so of cap foam; you aren't gonna be stabbing people with the haft (I hope).
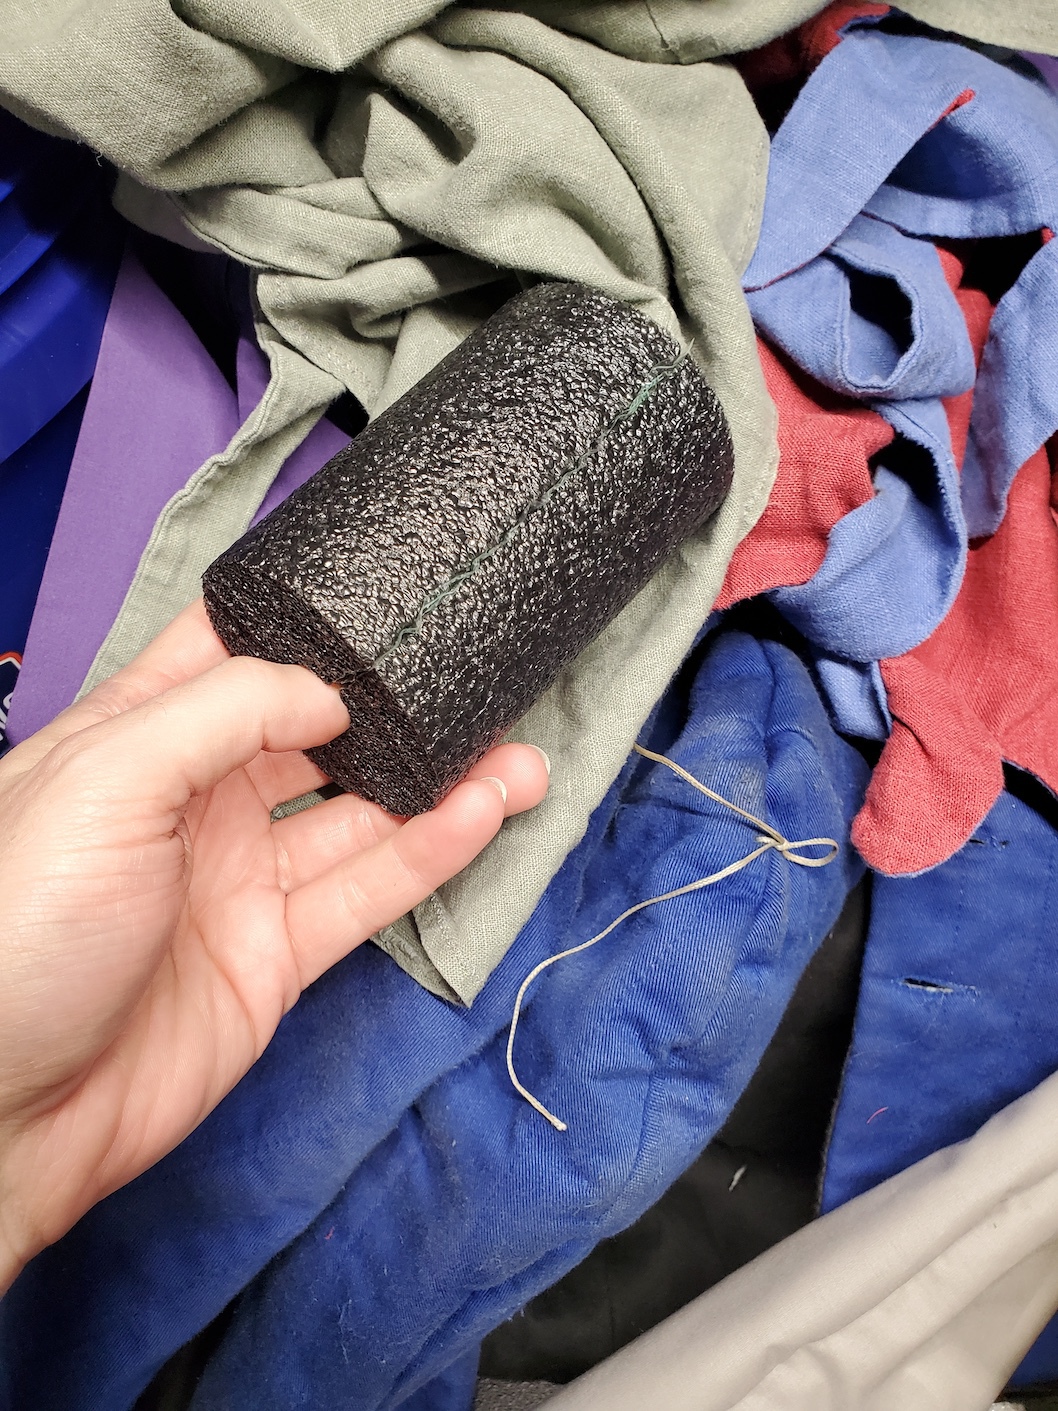
3. Cut another chunk of Frost King for the head. I like about this length, but it's up to you. Seal the seam with the built-in adhesive. Throw a strip of tape on it to make sure it holds tight for the next step.

4. Roll up a bit of scrap fabric nice and tight...
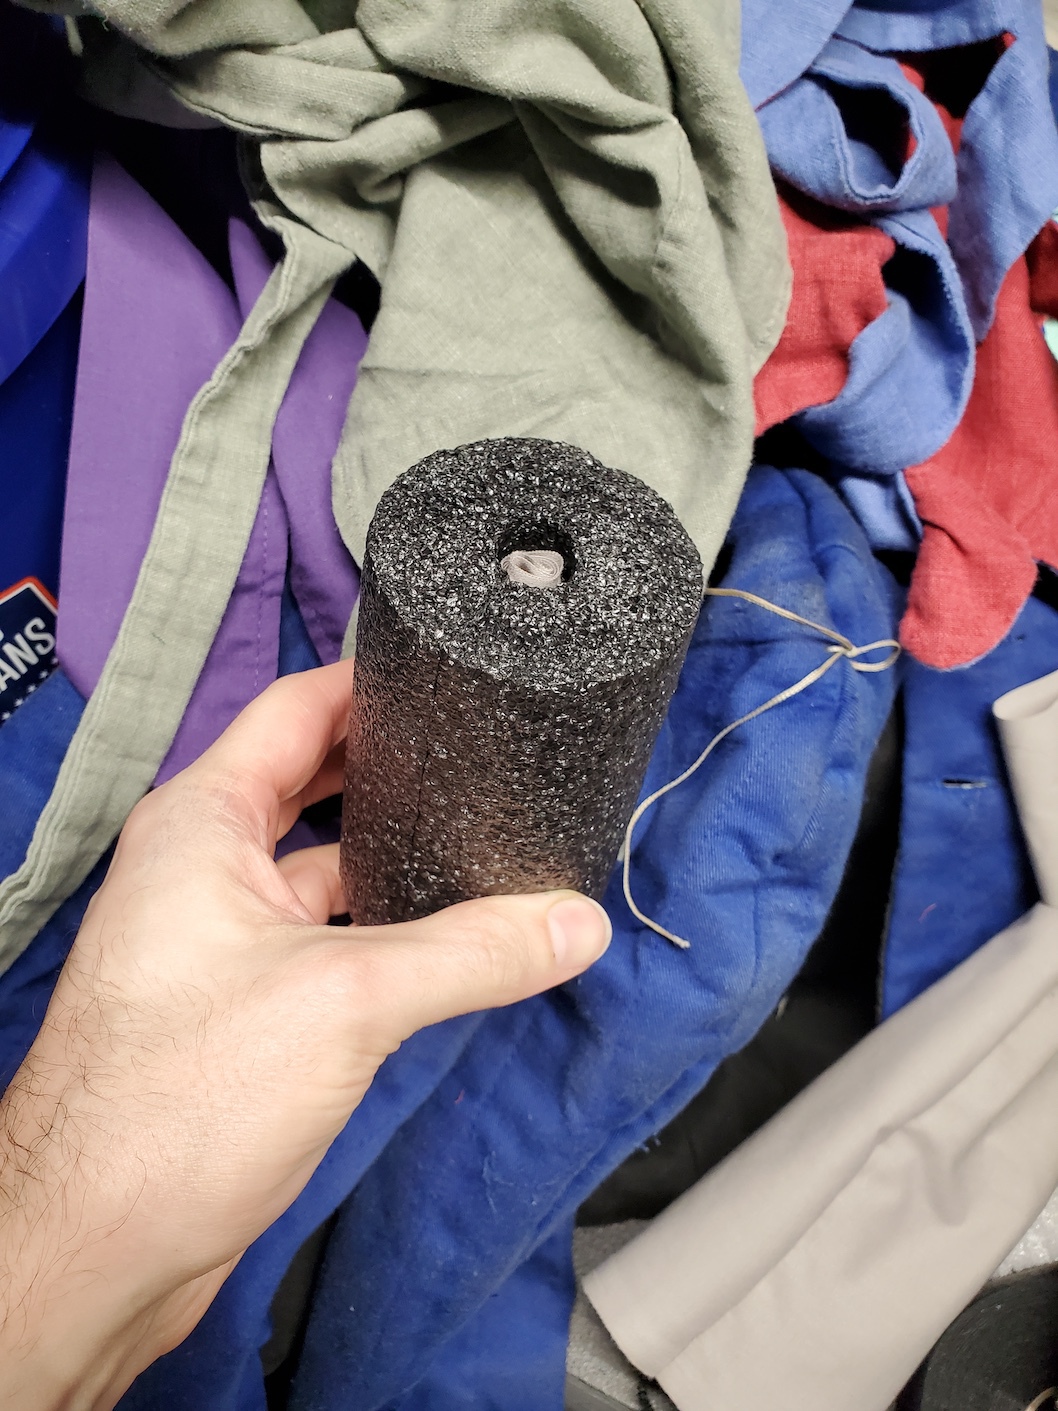
5. and stuff the head with that for a bit of weight.
See? Not too shabby.
6. Now, cap that to keep the fabric from escaping and then tape 'er up.
7. Make a cover for an omni the diameter of your finished haft/head. Since I'm using the same foam and an appropriate haft core, that makes life easy.
If you don't know how to sew a nice Omni cover, see this tutorial: Omni Covers The Easy Way. Make it plenty long; if you haven't done one of these before, maybe twice the length of your haft, just to be sure you have enough fabric.
8. Put the head in the cover and snug it down realllllly tight with a hair elastic. These are cheap and long-lasting.
9. Grab some 1/2" wall pipe insulation or other foam and roll up some "marshmallows" for your chain.
Tape 'em so they hold their shape.
10. Stuff a marshmallow into the cover, center it, and then snug it down with a hair elastic, nice and tight.
Make them whatever length you like, really. This sort of "broad as it is long" approach works well.

11. Do that step however many times you like, to get the chain length you want, then slide the haft into the bottom of the cover, trim the cover, and tape it down to the haft. Finish the pommel and handle as you like. Congratulations! You now have a flail!


